Finding Images
Blogs with images add interest, clarity, and further explanation. But where does a blogger find images?
A first choice is to take or make your own; that way, you have them always and can decide the license.
The second choice is to find images licensed for reuse. Kathleen Morris explains this in her great post, “A Simple Guide to Free Images, Copyright, and Creative Commons for Students and Teachers.” She provides detailed information, a student handout, and an eBook. Great Resource.
Another Edublogs resource is Sue Waters and Ronnie Burt’s post “The Educator’s Guide to Copyright, Fair Use, and Creative Commons.” They’ve much information to help you understand its organization and license components.
I love the idea of the Creative Commons— a way to license your own work and let others adapt and use it as well, with credit back to you. Most of my photography and art on Flickr is licensed as Creative Commons 4.0. Creative Commons includes a search area for all or specific areas, like Flickr, here. If you create a resource, consider sharing it under a Creative Commons License. It helps build a community of knowledge rather than locking knowledge behind a wall.
Also, sharing your resources in a portfolio like Flickr [I have a Pro version] allows others to view, comment, and reuse each others’ images. It’s easy to search your own and others’ albums and groups for just the right image. But check the license before using: many are copyrighted while many are creative commons licensed.
Finally, in my own post with references to Edublog’s resources, I also add in ideas on where to create your own images: “Let’s Talk Blog Images.”
About Creating Images
Often times, your own computer or iPhone has just the right app to create images from your own photos or art.
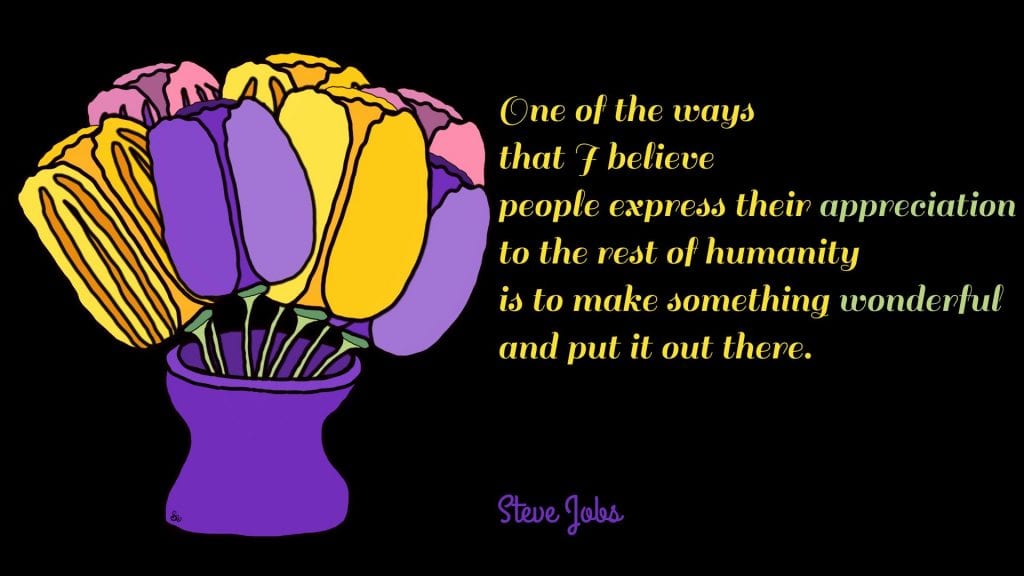
The Steve Jobs image above was created with my art work drawn in Sketchbook Pro which I inserted into a Keynote slide to add the text matched to the colors in the image. I could have created the whole thing in Sketchbook, but it’s easier to design with fonts in Keynote. In Keynote, I can export what I create as jpg or png.
Edublogs recently tweeted about Richard Byrne‘s blog about removing background images on a person to place them into another image, such as an historic landmark.
These could be really fun to make for blog post inspiration!
How to Virtually Place Yourself in Front of Any Landmark With Free Image Editing Tools by @rmbyrne https://t.co/ZYftbNA88O pic.twitter.com/2MGEIDuK9v
— edublogs (@edublogs) January 23, 2019
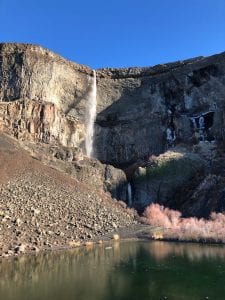
I tried it with my waterfall image at the top.
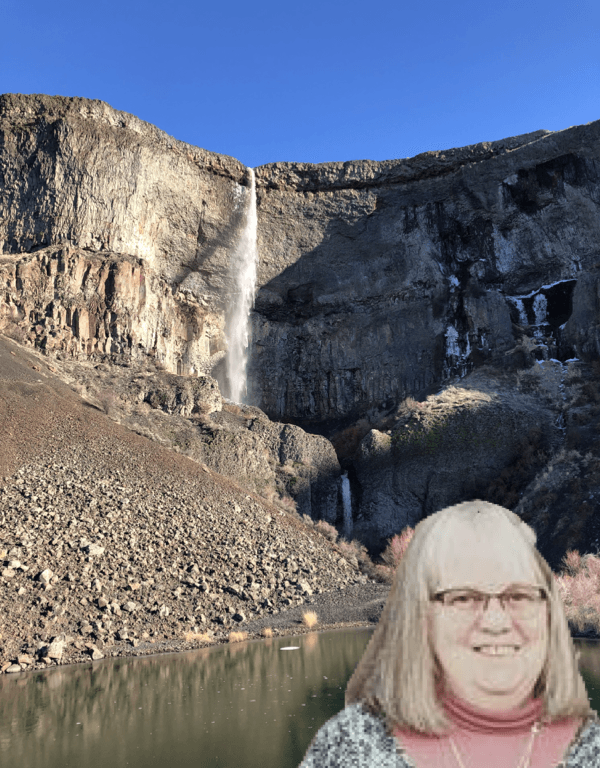
I did not have a large file image of myself, so the picture is not as clear I’d like. The process on my iMac is different from the explanation in Richard’s post because I used the apps on my computer.
- I found an image where I could crop myself out.
- I duplicated the image and then, in the duplicate, in the PREVIEW app on my computer, I cropped out the part of me without anyone else around and saved that.
- I then was able to eliminate the background with this process found at Apple Preview support using the magic wand tool.

- I opened Keynote to a blank slide and inserted the image of the waterfall, adjusting the document size in “custom size.”
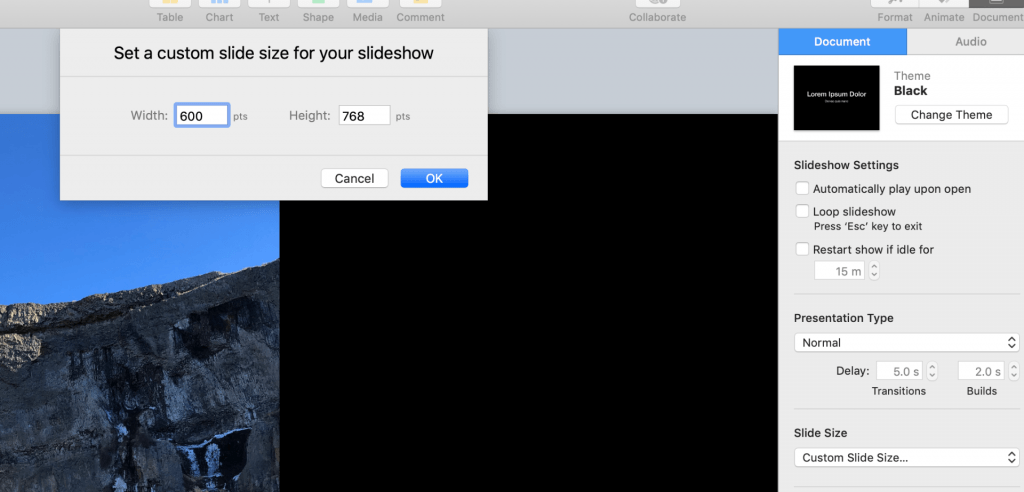
- I resized the image on the slide to fit better.
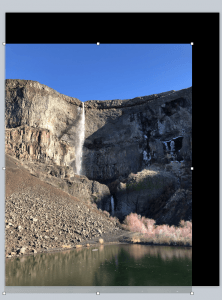
- Next I inserted the cropped/clean image of myself and arranged it according to the crop.

- You could see in Step Three that I was not too careful about my background deletion. To fix that gap at the top right of my head, I inserted another of the cropped/clean image of me and chose “flipped horizontally.” I then resized it slightly and moved it to cover the gap. I arranged it to “move backward” behind the originally inserted image of me. That fixed it enough to cover the gap. This is called hacking, and it’s a needed skill when using technology as a novice: be flexible and adapt. Perfectionism is a curse here.
- I saved the Keynote and exported the slide as a png.
- I need to take a good picture of those people I want to place inserted into another image, but it’s possible to do on the iMac.
In the comments below, Denise shares a video from Richard Byrne on how to merge images in Google Slides. I’ve added that here:
Quick Reminders
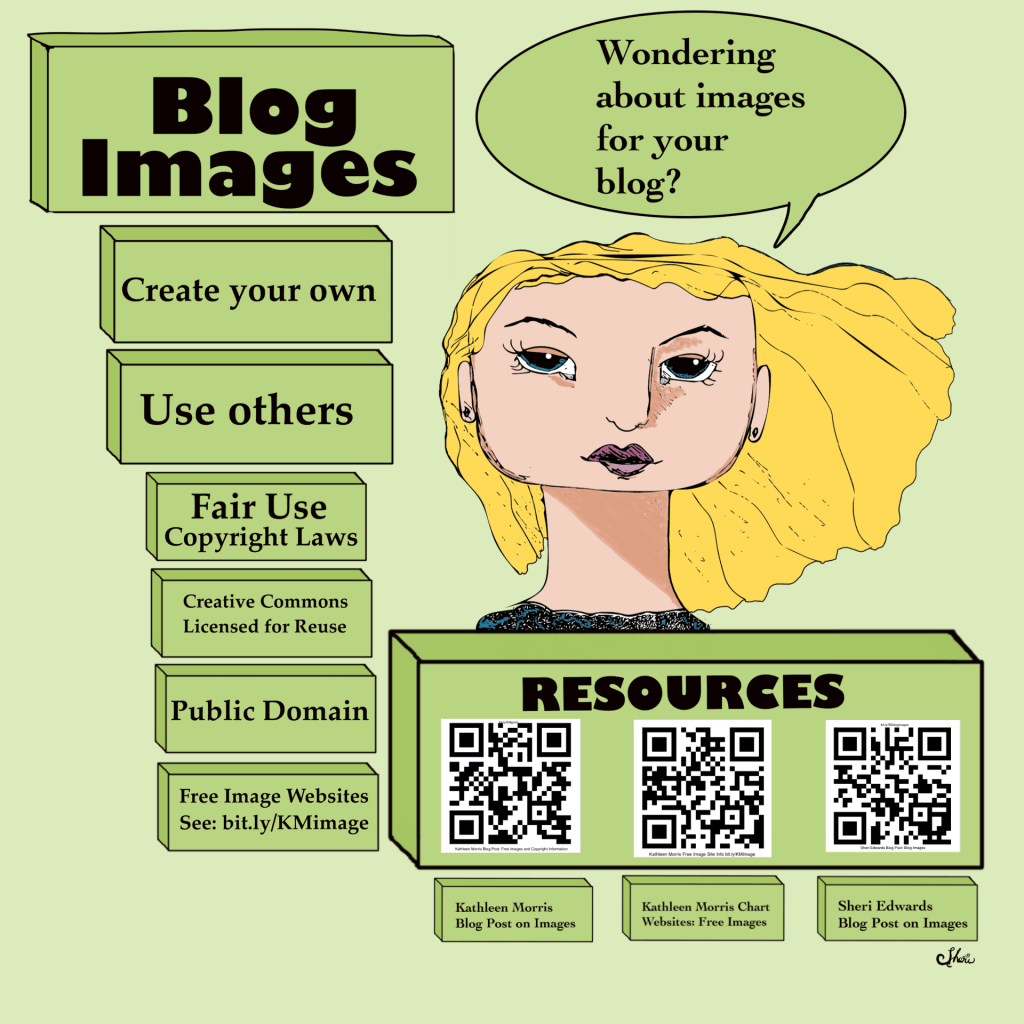
[Updated Jan 25] I created this image in Sketchbook as a reminder of the ideas and resources for using images. I created the links at bitly.com and the qr codes at the-qr-code generator. I may create a pdf of this so I can make the links active; I should be able to do this in Preview. I’ll update when I know.
Your Turn
What are your image tricks? What are your sources? Have you considered Creative Commons licensing?

This post Day 21 the #blogging28 challenge by Edublogs, thanks to Denise’s tweet.
My Flickr Images
Stamp Your Online Presence with Respect
Waterfall photo by Sheri
Hi Denise!
Love the video. The students created a wonderful birthday video about Bahrain! They chose great views and inserted themselves well into the scenes. Everyone looked happy too.
Love the idea about creating a paragraph and poem for the One Word. Your poem is one I’ll download and remember myself! So true!
The examples show what’s possible using Google Slides — a great video howto as well. Thanks for linking to it here for readers to learn as well. Appreciate it!
Yeah #blogging28 !
~ Sheri
Here is a video we did with the green screen. We’re rookies, but it was fun: https://www.instagram.com/p/BrUt_CXndUH/?utm_source=ig_web_copy_link
Thanks, Sheri. This is a very helpful post. I’m having fun with my students using the green screen and landmark photos. I noticed with remove.bg, though, I don’t have to even use a green screen. It works really well, as long as it’s only people in the photo.
I like your picture at the waterfall, and help for Mac users. I tried something I learned on your post for my #blogging28 post today. Here it is: http://mrsdkrebs.edublogs.org/2019/01/25/one-word-for-2019-poem/
As always, thanks for the inspiration,
Denise